

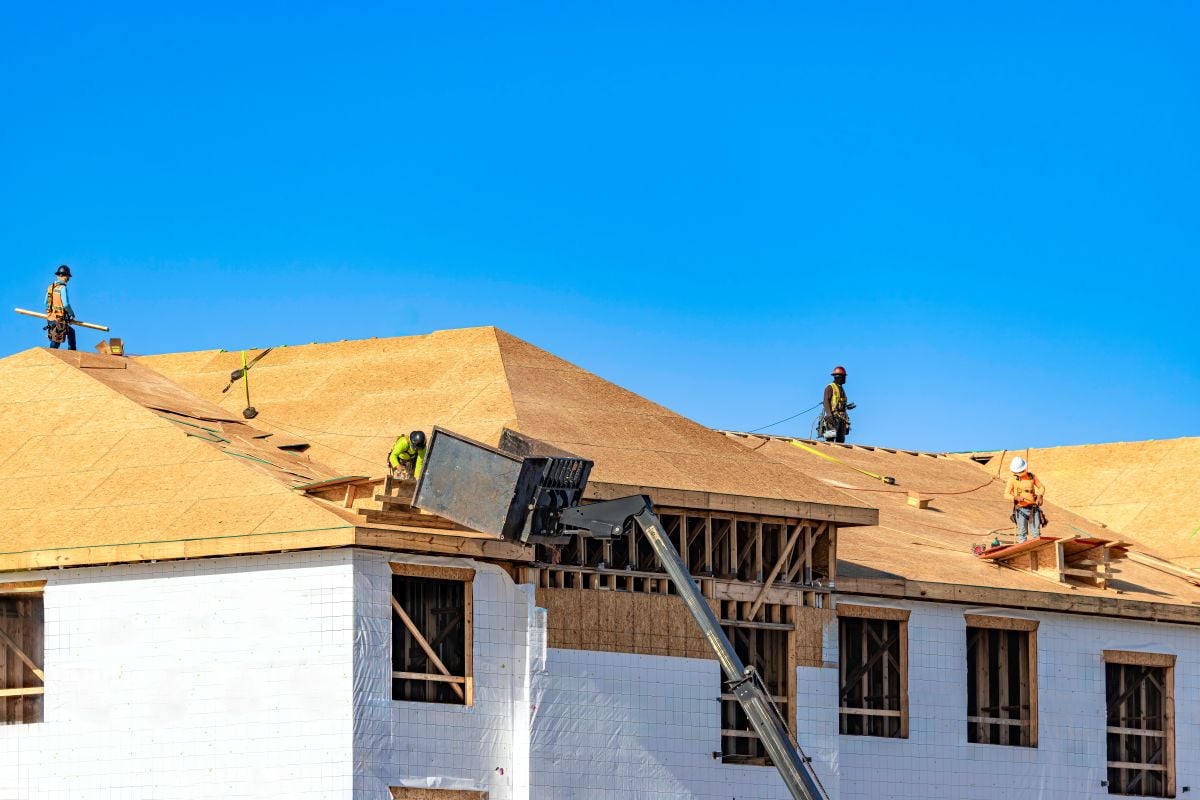
A new roof is one of the most important investments you can make in an apartment complex, condo community, mixed use building, or HOA community. A successful multi family roof installation protects every resident, improves energy efficiency, and sets your property up for decades of dependable performance. Because these projects involve more units, more people, and more moving parts than a single-family home, knowing what to expect makes the process far less stressful. With a clear plan and the right team, you can start protecting every unit under one reliable roof with confidence.
Here’s a preview of what’s covered:
- Why installation quality matters as much as materials
- The four main phases of a project
- How to choose materials that fit your building
- Who handles what before and during installation
- Answers to common owner and manager questions
Why Installation Quality Shapes Your Building’s Future
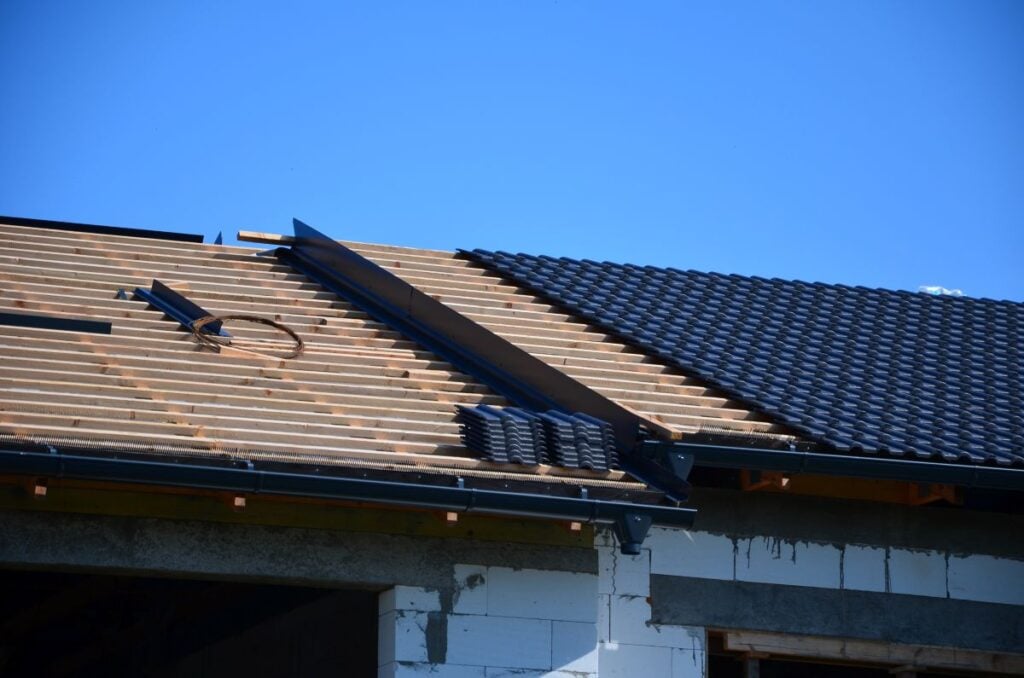
Even the best roofing materials will fail early if they are not installed correctly. On multi unit properties with multiple tenants, small mistakes at seams, edges, or flashing points can lead to a roof leak that affects several residential units and results in costly repairs. The quality of the installation often determines whether a roof reaches its full expected service life or needs major repairs within a few years.
A professionally installed roof delivers clear advantages:
- Longer roof lifespan: Proper material selection, underlayment, flashing, and fastening help every component perform as designed, so you get the full value from your investment.
- Warranty protection: Many manufacturer warranties require certified installers and specific installation methods, and correct workmanship keeps that coverage valid.
- Lower operating costs: A well-sealed, properly insulated roof reduces heating and cooling demand across the building and cuts down on emergency roof repair calls.
- Resident satisfaction: Tenants who never deal with drips, stains, or drafts are more likely to renew their leases and speak well of the property.
It also helps to understand the typical roof installation process before your project begins, since multi family roofing projects follow the same core steps on a much larger scale. For property owners in Stillwater and surrounding areas, harsh winters, heavy snow loads, and summer storm damage make quality roofing installation especially important. A roof built to handle the local climate will protect your residents and your budget for years to come.
4 Phases of a Multi Family Roof Installation
While every building is different, most multifamily roofing projects move through four clear phases from the first inspection to the final walkthrough. Understanding each phase helps you prepare, set expectations, and communicate clearly with residents and stakeholders.
1. Assessment and Planning
The project begins with a detailed roof inspection that evaluates roof condition, decking, insulation, drainage systems, and rooftop equipment. This assessment identifies hidden problems and helps determine the best system for the building.
- Measure roof size and document existing conditions
- Check for rotted decking, wet insulation, or structural integrity concerns
- Review drainage issues, ventilation, and roof design
- Discuss budget, goals, and preferred timeline
Once the assessment is complete, your roofing company should confirm whether a re roof or full replacement is needed and provide a written scope that outlines materials, labor, timeline, warranty terms, and any allowances for unexpected repairs.
2. Permits, Scheduling, and Preparation
Multi family projects often require permits, code reviews, and approval from owners, property managers, or HOA boards. Local building codes and safety regulations may include stricter fire ratings and energy efficiency standards for larger residential buildings.
- Secure permits and confirm code requirements
- Schedule material deliveries and dumpster placement
- Plan staging areas, safety zones, and parking changes
- Notify residents with clear dates and working hours
Careful planning during this phase prevents delays and keeps the site safe once crews arrive.
3. Tear-Off and Installation
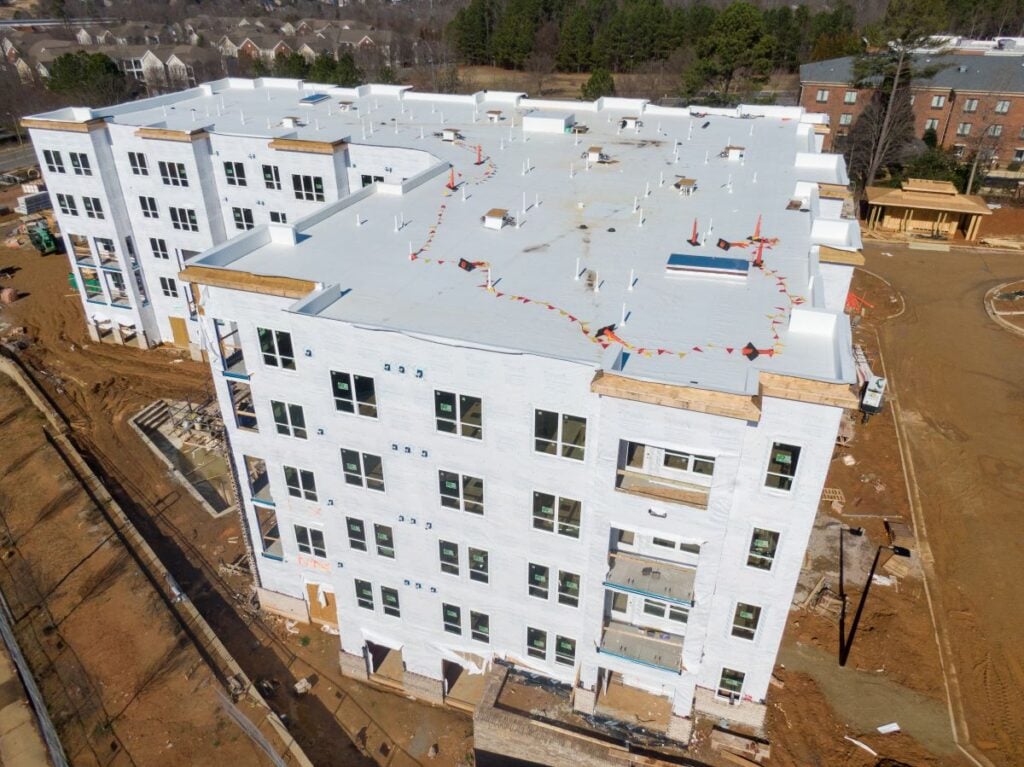
Experienced installers, ideally the company’s own crews, remove the existing roofing materials, inspect the deck, and replace any damaged sections before installing the new system. On larger buildings, work is usually completed in sections so the roof stays watertight at the end of each day.
- Remove old roofing and dispose of debris safely
- Repair or replace damaged decking
- Install insulation, underlayment, and high quality roofing materials
- Seal flashing around walls, vents, and rooftop equipment
Skilled crews also protect landscaping, walkways, balconies, and vehicles throughout the process to prevent damage from falling debris and ensure minimal disruption.
4. Final Inspection and Closeout
After installation, the contractor completes a detailed walkthrough to confirm that seams, flashing, drains, and edge details meet the scope and manufacturer requirements. A thorough cleanup, including magnetic sweeps for nails, keeps the property safe for residents.
- Review completed work with photos and documentation
- Confirm warranty registration
- Receive customized maintenance plans for the new roof
Following these four phases in order keeps even large scale projects organized, predictable, and on schedule. It also creates a clear record of the work, which is valuable for future maintenance, insurance claims, and eventual resale.
Choosing Materials That Fit Your Building
The right roofing material depends on your building’s design, budget, and long-term goals. Much like commercial buildings and office buildings, many multi-family properties combine steep and low-slope sections, so a single property or a complex with multiple buildings may use more than one system.
Here are the most common options and where they work best:
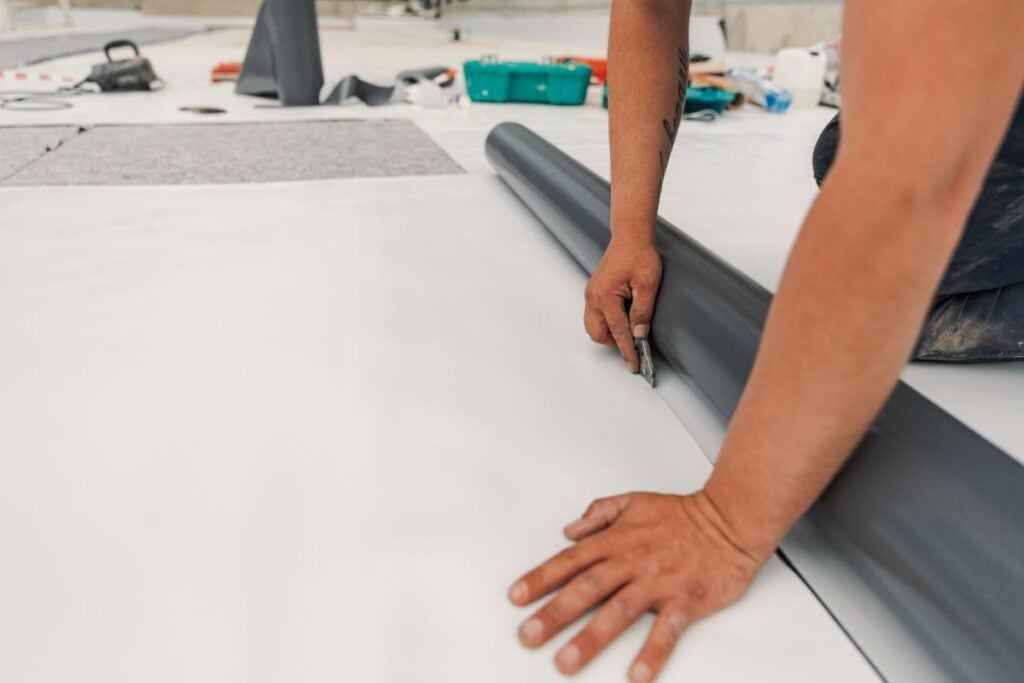
- TPO membrane: A popular choice in commercial roofing for flat and low-slope roofs, TPO offers a reflective white surface and heat-welded seams that help reduce cooling costs.
- EPDM rubber: This durable synthetic rubber stays flexible in freezing temperatures, making it a proven option for cold Midwest winters.
- PVC membrane: PVC resists chemicals, grease, and fire, which makes it well suited for buildings with rooftop kitchen exhaust or heavy equipment.
- Modified bitumen: Built in multiple layers, this system handles moderate foot traffic well and is easy to repair.
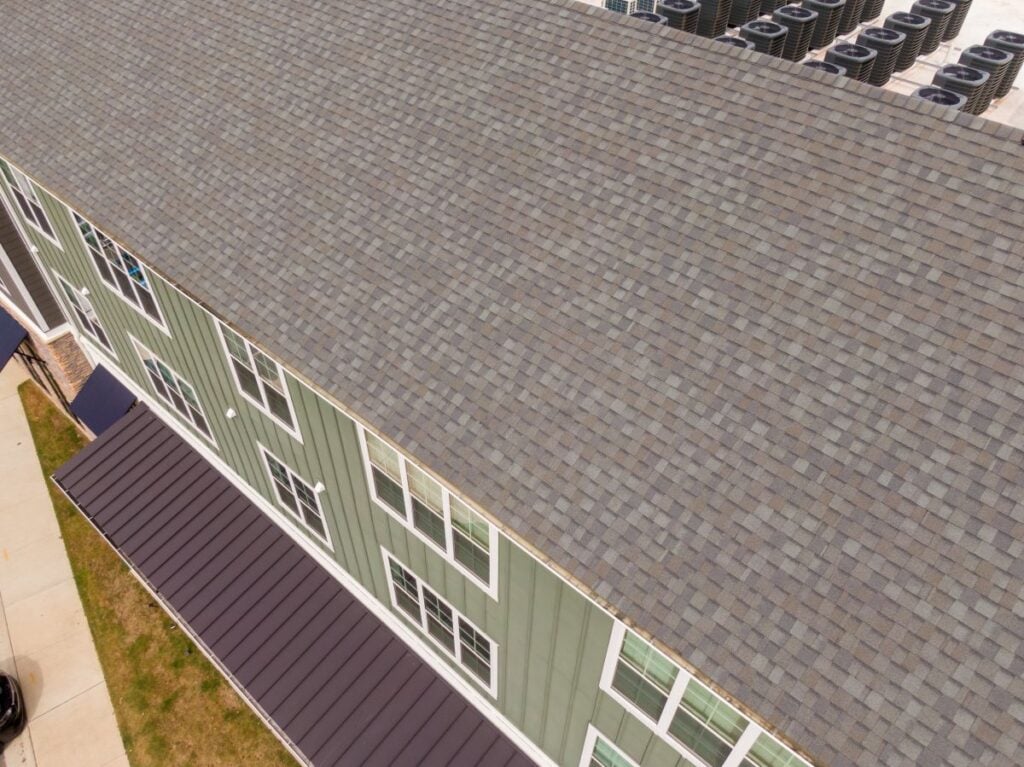
- Architectural asphalt shingles: Common in residential roofing for townhome communities and smaller complexes, shingles offer an attractive look at a budget-friendly price and typically last 20 to 25 years.
- Standing seam metal: Metal roofing sheds snow effectively and can last 40 years or more, making it a strong long-term investment for pitched roofs.
Your contractor should explain how each option handles local weather, foot traffic, energy efficiency, and maintenance needs. Choosing the right material for each roof section improves roof performance across the entire building and reduces long-term costs.
Who Handles What Before and During Installation
A smooth project depends on clear roles for everyone involved. When owners, property managers, and the roofing contractor understand their responsibilities, communication improves and surprises are kept to a minimum.
| Task | Property Owner or Manager | Roofing Contractor |
| Approving budget and scope | Primary responsibility | Provides written scope and estimate |
| Permits and code compliance | Reviews and approves | Secures permits and meets code requirements |
| Resident notifications | Shares notices and updates | Supplies schedules and project details |
| Parking and access changes | Coordinates with residents | Identifies staging and safety zones |
| Site safety and cleanup | Monitors conditions | Manages safety, debris removal, and cleanup |
| Final walkthrough | Reviews completed work | Documents work and registers warranty |
Tips for Keeping Residents Informed
Resident communication is one of the most important parts of an occupied building project. A few simple steps go a long way:
- Send written notice at least one to two weeks before work begins
- Share expected noise levels and daily working hours
- Post updates in common areas and by email
- Provide a contact person for questions or concerns
In Stillwater and surrounding areas, late spring through early fall usually offers the best installation conditions, so planning communication early helps keep your project on schedule. Well-informed residents are far more patient with temporary noise and parking changes. After completion, ongoing maintenance, including regular roof inspections and prompt minor repairs, keeps roofing issues from developing.
Frequently Asked Questions About Multi Family Roof Installation
Property owners and managers often have similar questions as they plan a new roof. Here are straightforward answers to some of the most common ones.
How long does a multi family roof installation take?
Timelines depend on roof size, complexity, material, and weather. Smaller buildings may take one to two weeks, while larger complexes completed in phases can take several weeks.
Do residents need to move out during installation?
No. Residents can almost always remain in their units. Crews focus on safe entrances, controlled debris, and reasonable working hours to minimize disruption.
Can a new roof be installed over the old one?
Sometimes. A re roof over the existing roof may work if there is only one existing layer and the deck and insulation are dry. A moisture scan helps determine whether a recover or full tear-off is best.
What warranties come with a new roof?
Most projects include a manufacturer warranty on materials and a contractor warranty on workmanship. Terms vary, so review coverage length and requirements, such as routine inspections, before signing.
When is the best time to schedule installation?
Late spring through early fall typically offers the best weather for installation. Booking early helps secure your preferred dates before the busy season.
Every building has unique needs, so these answers are a starting point rather than a final recommendation. A professional assessment will give you guidance tailored to your property.
Start Your Next Roof Project With Confidence
A professionally installed roof protects your residents, strengthens your property value, and reduces long-term maintenance costs. With the right planning, materials, and team, your building can enjoy decades of reliable performance. As a trusted roofing company offering multifamily roofing services for apartment complexes, commercial properties, and HOA communities, Classic Construction & Consulting helps property owners and managers plan every phase, choose the right systems, and complete installations with clear communication and quality workmanship. If you own or manage multi family properties in Stillwater and surrounding areas, contact us today to schedule an assessment and start planning your new roof.


