

A roof rarely fails without warning signs, but most homeowners never notice them until a roof leak forces the issue. Working through a reliable roof inspection checklist twice a year helps you catch small problems before they turn into expensive repairs, protecting both your home and your budget. Pairing that habit with guidance built for upscale homes makes it much easier to know exactly what you are looking at and when it is time to call in a professional.
Here’s a quick rundown of what you’ll find below:
- Why regular roof inspections matter more than most homeowners realize
- An eight point checklist covering every major inspection area
- Tools and timing tips that make inspections easier
- A free roof inspection checklist template you can print and reuse each season
- A look at DIY inspections versus hiring a professional
- Answers to common questions about roof inspections
Why Regular Roof Inspections Matter
Most roofing problems develop slowly within a roofing system, which means a homeowner who skips regular inspections often has no idea trouble is building until water starts coming through the ceiling. A consistent inspection routine turns invisible wear into something you can see and address early, often before a small roof leak leads to mold growth or costly repairs elsewhere in the home. Homeowners across Rochester and surrounding areas deal with harsh winters, heavy snow loads, and summer storms, all of which accelerate roof aging in ways that are easy to miss without a closer look.
- Catches small issues early: Spotting a lifted shingle or cracked seal before it leaks saves significant repair costs later.
- Protects your investment: A well-maintained roof preserves your home’s value and curb appeal.
- Supports insurance claims: Documented inspections provide useful evidence if storm damage needs to be reported.
- Extends roof lifespan: Addressing minor wear promptly helps roofing materials last as long as intended.
Skipping inspections might save time in the short term, but it almost always costs more down the line. The checklist below breaks down exactly where to look and what signs deserve your attention.
8 Point Roof Inspection Checklist
A thorough roof inspection covers more than just a quick glance from the driveway. The following eight areas, widely used as a standard across the roofing industry, represent the most important elements to check, whether you are doing a seasonal walkthrough yourself or preparing questions for a professional.
1. Shingle Condition
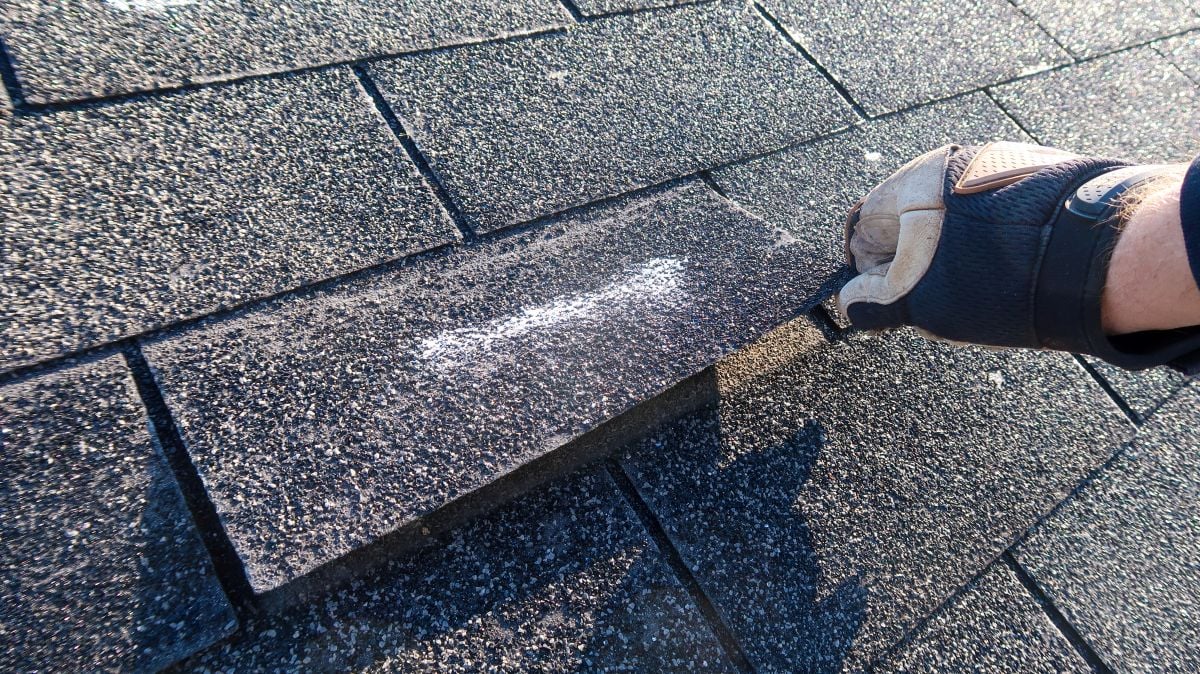
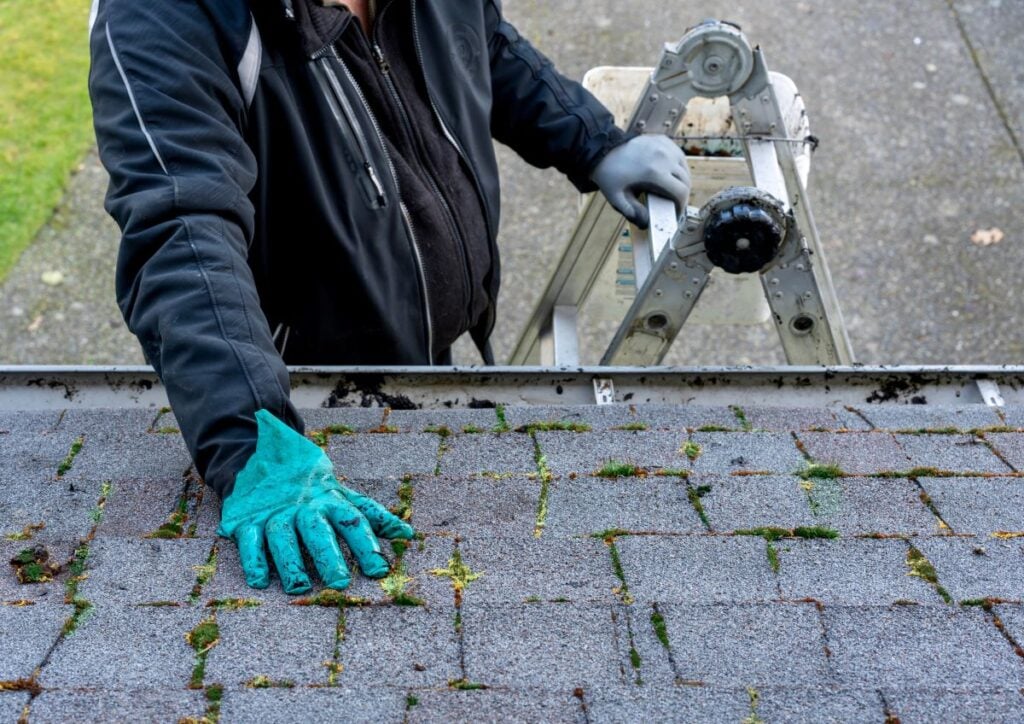
Shingles, especially asphalt shingles, take the brunt of sun, wind, and precipitation, so they are usually the first place damage shows up. Cracked, curled, loose shingles, or missing pieces are clear signals that repairs may be needed soon.
- Look for shingles that appear discolored, blistered, or brittle
- Check for missing granules or granule loss collecting in gutters, which signals shingle wear
2. Flashing Around Roof Penetrations
Flashing seals the vulnerable areas where chimneys, vents, and skylights meet the roof surface. Damaged flashing is a common failure point, especially as materials age or shift over time.
- Inspect for rust spots, gaps, or loose sections around any roof penetrations
- Confirm caulking or sealant has not dried out or cracked
3. Gutter and Downspout Function
Gutters and downspouts direct water away from your roof and foundation, so clogged gutters or damage undermine the entire drainage system. Clearing them regularly helps prevent leaks from forming along the roofline, and this is one of the easiest areas to check without climbing onto the roof itself.
- Clear leaves and debris that could cause water to back up
- Watch for sagging sections or pooling water near downspout outlets
4. Attic Ventilation and Insulation
A roof’s performance depends heavily on what happens in the interior spaces beneath it, since poor attic ventilation can trap heat and moisture that damage the roof deck from the inside. This step, sometimes called an attic inspection, often gets overlooked during a visual exterior inspection.
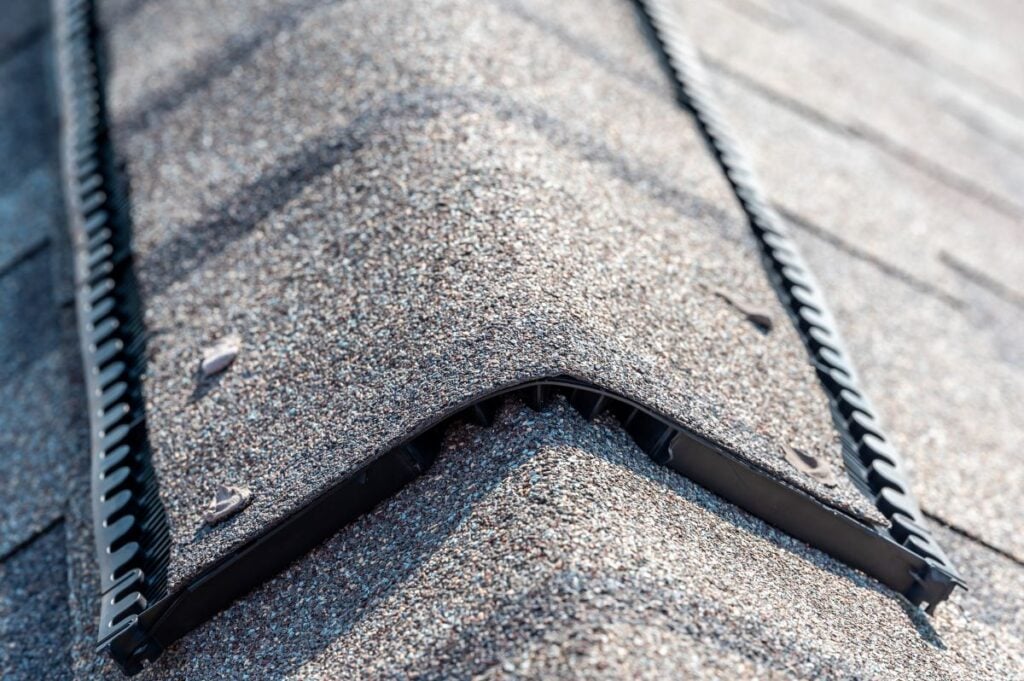
- Check for adequate airflow through vents and soffits
- Look for signs of moisture, mold, or uneven insulation coverage
5. Roof Deck and Structural Signs
The roof deck provides the structural base that everything else is built on, so any sagging or soft spots deserve immediate attention. Water stains or other signs of water damage on the underside of the deck usually point to water infiltration somewhere above, and this is best assessed from inside the attic where the underside of the deck is visible.
- Look for daylight coming through boards, which signals gaps or damage
- Press gently on suspicious areas to check for soft or spongy spots
6. Chimney and Skylight Seals
Chimneys and skylights create additional openings in the roof surface that require careful, ongoing attention, particularly after high winds or storm related damage. Even small gaps around these features can lead to significant leaks over time.
- Inspect mortar and brickwork for cracks around chimney bases
- Check skylight seals for wear, especially after major storms
7. Signs of Pest or Animal Damage
Small gaps in roofing materials can invite pests looking for shelter, and their presence often causes additional visible damage beyond the original entry point. Catching this early prevents a minor nuisance from becoming a larger structural issue.
- Look for chewed materials, nesting debris, or droppings in the attic
- Check soffits and vents for gaps that could allow entry
8. Overall Roof Age and Wear Patterns
Every roof has an expected lifespan, and understanding where yours falls within that timeline helps you plan ahead rather than react to an emergency. Materials vary too, since metal roofing typically outlasts asphalt shingles by decades, so knowing your roof’s age and material helps set realistic expectations for when a new roof might be needed.
- Track your roof’s installation date and expected material lifespan
- Note whether wear appears isolated or spread evenly across the roof
Working through each of these eight areas and keeping a completed checklist on hand gives you a genuinely complete picture of your roof’s condition rather than a surface level glance. If several items raise concerns at once, it is worth scheduling a professional evaluation sooner rather than later.
Tools and Timing for a Smooth Inspection
Having the right tools on hand and choosing the right time of year both make a real difference in how effective a roof inspection turns out to be. A little preparation goes a long way toward catching issues that a rushed walkthrough might miss.
- Binoculars for ground level viewing. A quality pair of binoculars lets you check shingle condition and flashing without needing to climb a ladder.
- A flashlight for attic checks. Attic spaces are often dim even during the day, and a bright flashlight makes it much easier to spot moisture stains or daylight gaps.
- A notepad or phone camera. Documenting what you find with photos creates a useful record for contractors and insurance purposes alike, and keeping print copies in a folder makes it easy to compare year to year.
- Spring and fall scheduling. Inspecting before winter sets in and again after the snow melts helps catch seasonal damage while it is still manageable.
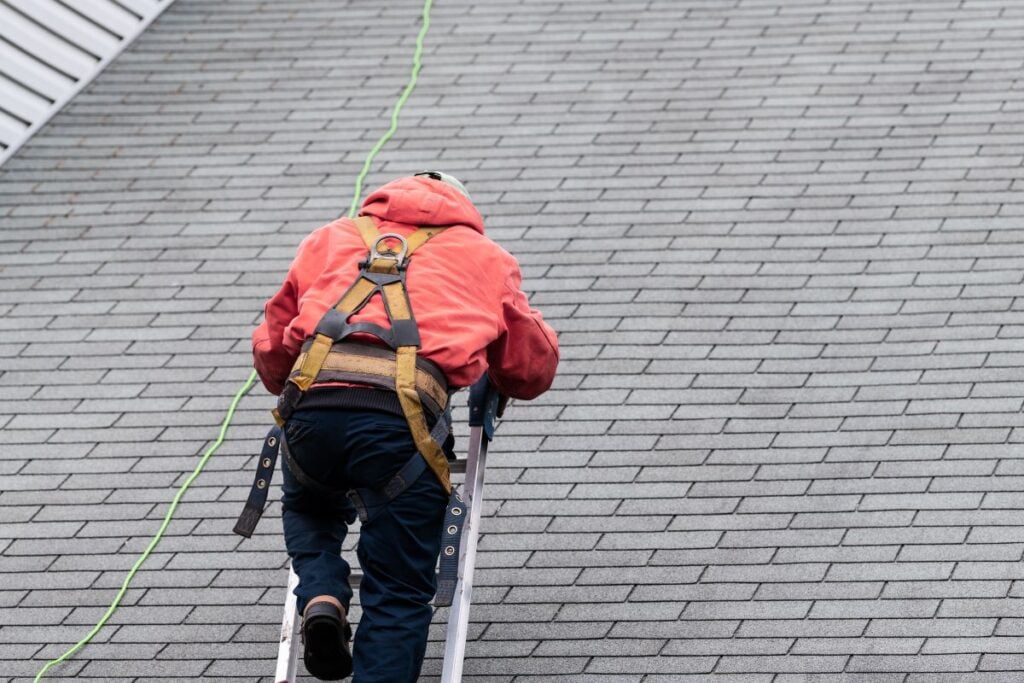
Homeowners throughout Rochester and surrounding areas who build these habits, including basic safety checks before climbing any ladder, into their yearly routine tend to catch problems while they are still minor and inexpensive to fix. Consistency matters more than perfection when it comes to staying ahead of roof damage.
DIY Inspection Versus Hiring a Professional
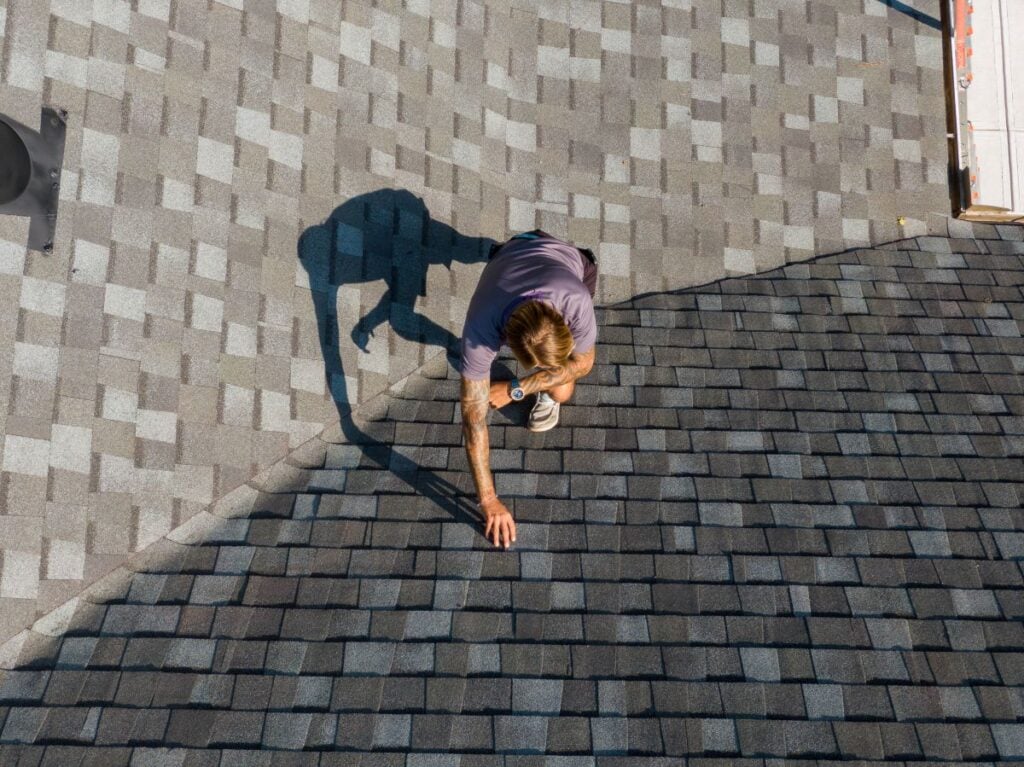
Deciding whether to inspect your own roof or bring in a professional inspector depends largely on your comfort level, the roof’s condition, and how thorough you need the results to be. Many roofing contractors offer this as a standalone service, and both approaches have a place in a homeowner’s regular routine.
| Factor | DIY Inspection | Professional Inspection |
| Cost | Free, aside from basic tools | Typically involves a service fee |
| Safety | Limited to ground level and attic access | Includes safe rooftop access and equipment |
| Detail level | Good for spotting obvious issues | Catches subtle or hidden damage |
| Documentation | Informal photos and notes | Formal report often accepted by insurers |
| Best used for | Routine seasonal checks | Post storm damage or evaluations requested by real estate professionals |
Neither option replaces the other entirely, since a homeowner’s regular observations combined with an occasional inspection from established roofing companies tend to catch the widest range of issues. Choosing the right approach at the right time keeps both your budget and your roof in good shape.
Frequently Asked Questions About Roof Inspections
Homeowners often have similar questions once they start thinking seriously about roof maintenance. Here are answers to some of the most common ones.
How often should I inspect my roof?
Most experts recommend having your roof inspected twice a year, in spring and fall, to spot potential problems before they grow, along with additional checks after any major storm.
Can I inspect my roof without climbing on it?
Yes, many issues are visible from the ground with binoculars or from inside the attic, though a full inspection sometimes requires professional rooftop access.
What is the most commonly missed inspection area?
Attic ventilation is frequently overlooked, even though most homeowners focus only on exterior surfaces and miss how poor airflow can quietly damage the roof deck from underneath over time.
Should I inspect my roof after every storm?
It is a good idea to check for obvious damage after any severe wind, hail, or heavy snow event, even if you plan a full inspection later.
How long does a typical roof inspection take?
A basic homeowner walkthrough can take as little as thirty minutes, while a thorough professional inspection often takes one to two hours.
What should I do if I notice water stains on my ceiling?
Document the location with photos, then schedule a professional inspection quickly, since water stains often mean a leak has already been active for a while before becoming visible.
If your inspection turns up any potential issues, reaching out for a professional opinion is always a smart next step.
Keep Your Roof in Top Condition
A roof inspection checklist is one of the simplest tools a homeowner can use to keep their roofing system running smoothly and avoid costly surprises down the road. Catching small issues early protects your home, your budget, and your peace of mind throughout every season.
Classic Construction has spent years helping homeowners across Rochester and surrounding areas identify roofing issues before they escalate, combining thorough inspections with lasting repair solutions. Whether you need a second opinion on something you noticed or a full professional evaluation, having an experienced team review your roof makes all the difference.
If it has been a while since your last inspection or you noticed something worth a closer look, contact us today to schedule a professional roof inspection.


